While at VCFMW last year, I spent some time talking with Lee Hart about his ELF Membership Card. He showed me a new project that he had been working on with some others called the Z80 Membership Card.

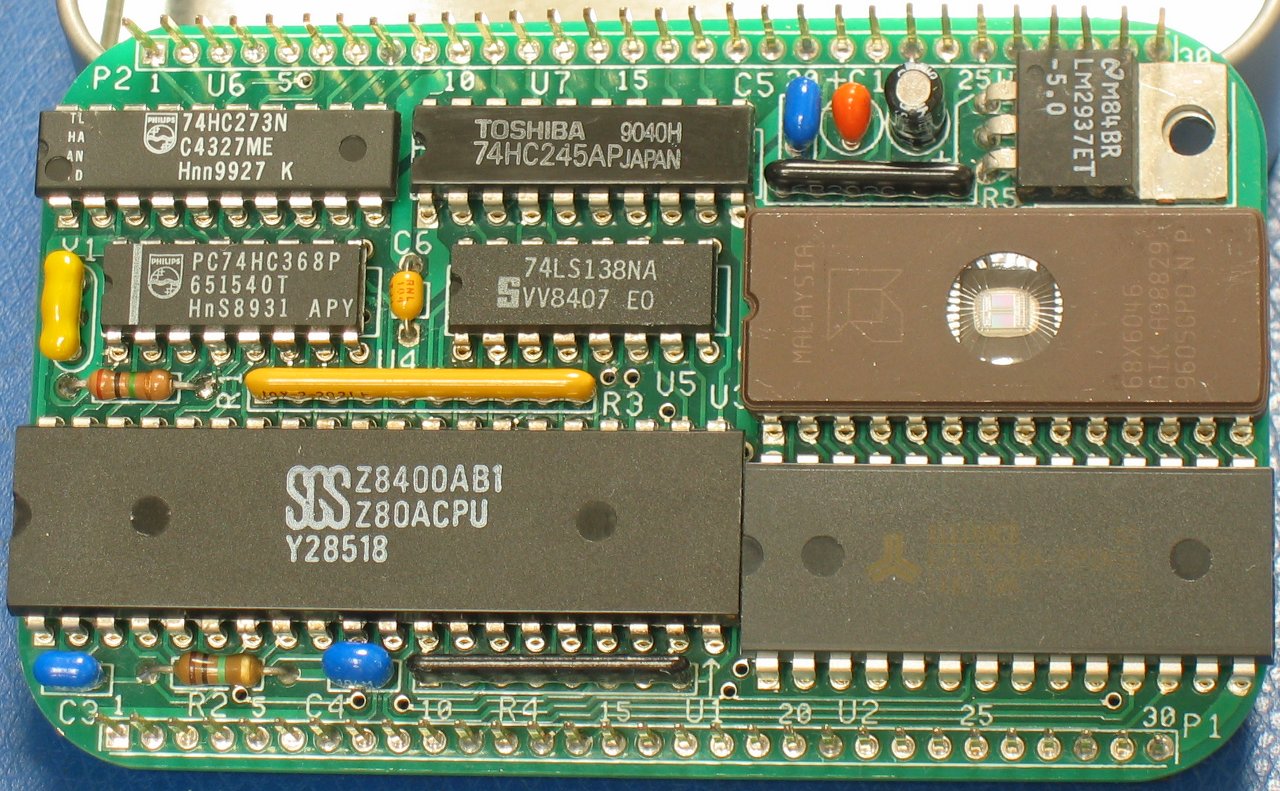
The base Z80 Membership Card contains a Z80 processor, 32k SRAM, and 32k EPROM, along with the necessary components to get them all working together.
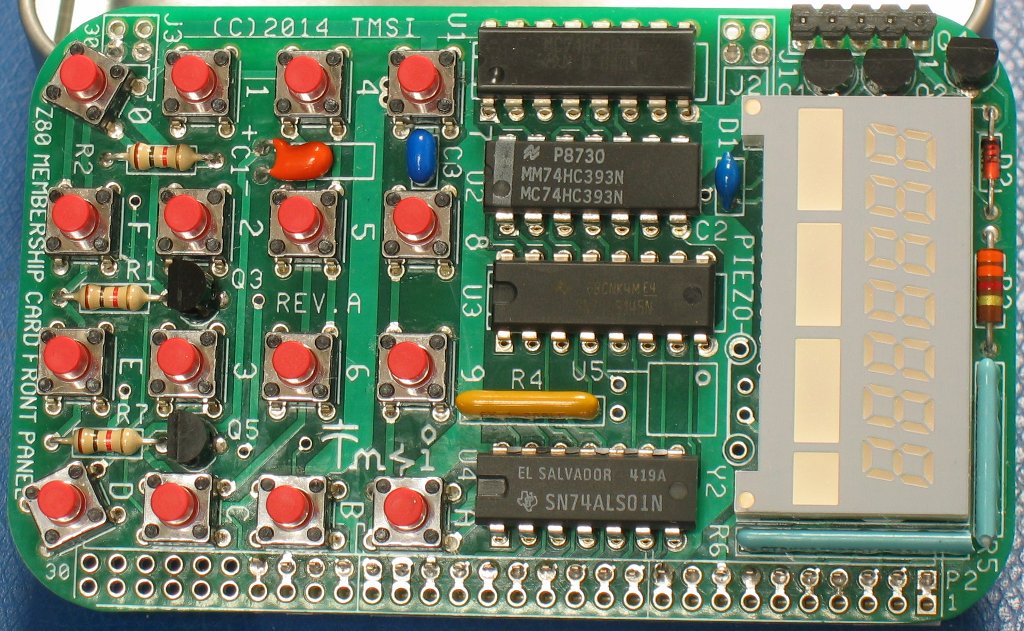
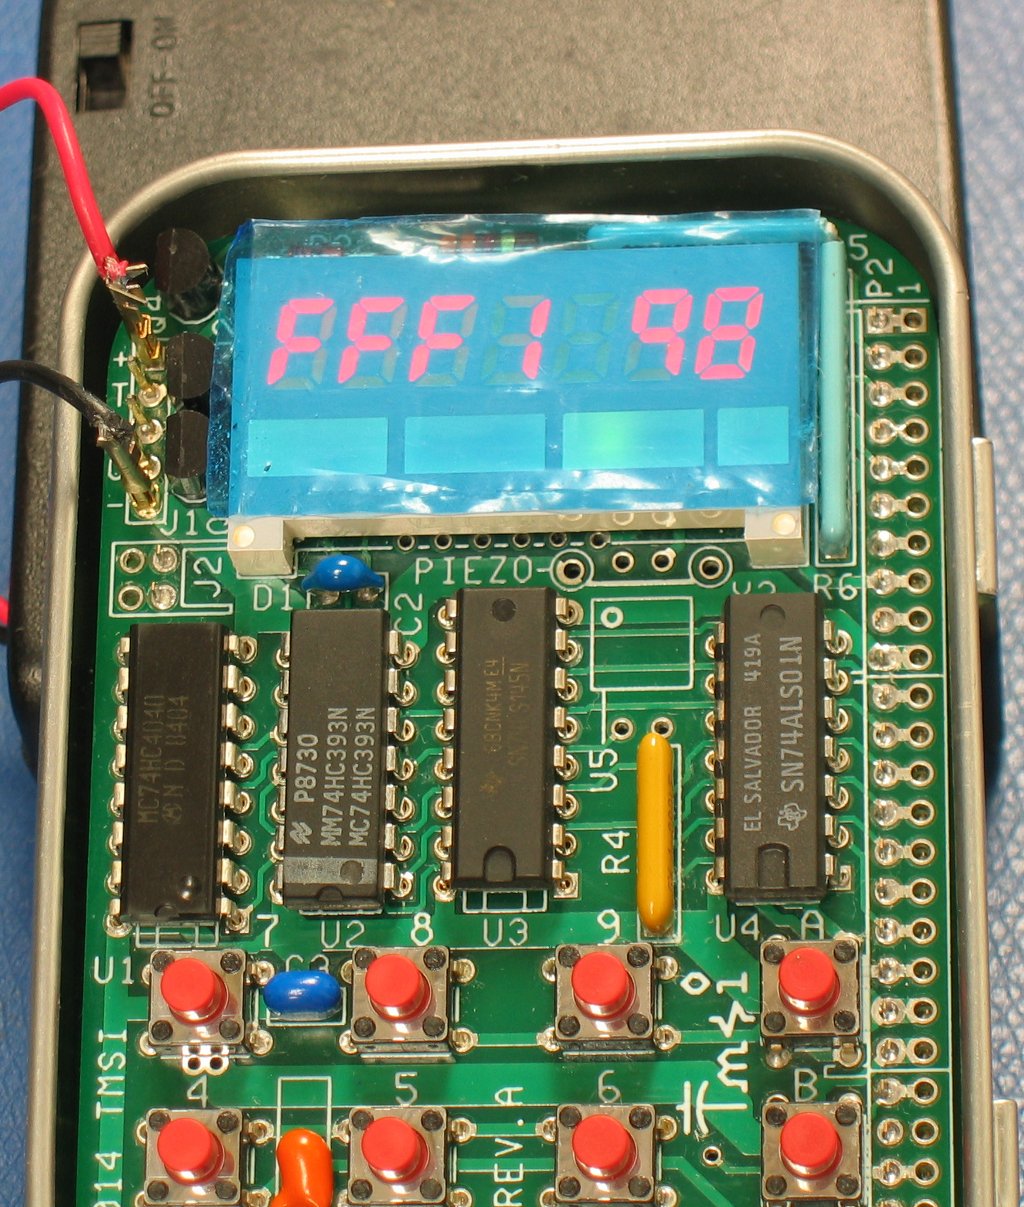
The front panel contains everything needed to interact with the membership card, 16 push button switches and a 7 digit display. The scanning for the keyboard and display are all done through the same 8-bit input and 8-bit output ports. Lee has also added components to provide for a serial port as well.
In addition to the impressive hardware, the Z80 Membership Card comes with some amazing software which interacts with Lee’s hardware design. The software provides a full interrupt driven monitor which operates the front panel.
In addition to scanning the keypad and operating the display, it implements a 9600 baud serial port in software! The monitor provides for the ability to view/change memory, view/change registers, single step programs, and upload code to memory using the X-modem protocol.
Oh, and it lets you do this even while running your own code at the same time!
Lee’s Z80 Membership Card page can be found at:
http://www.sunrise-ev.com/z80.htm
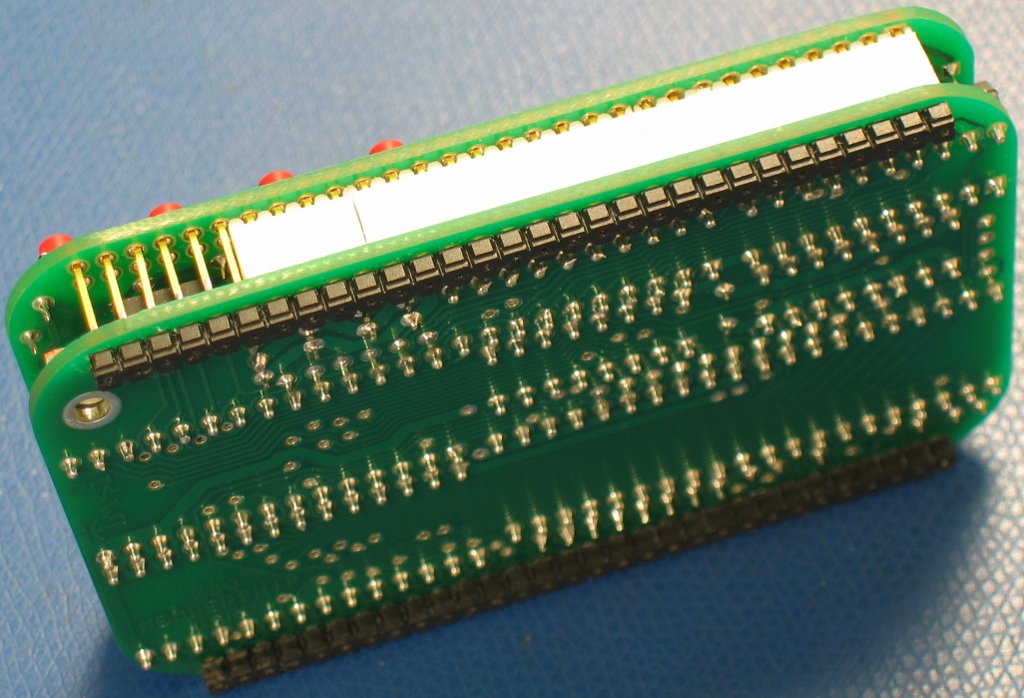
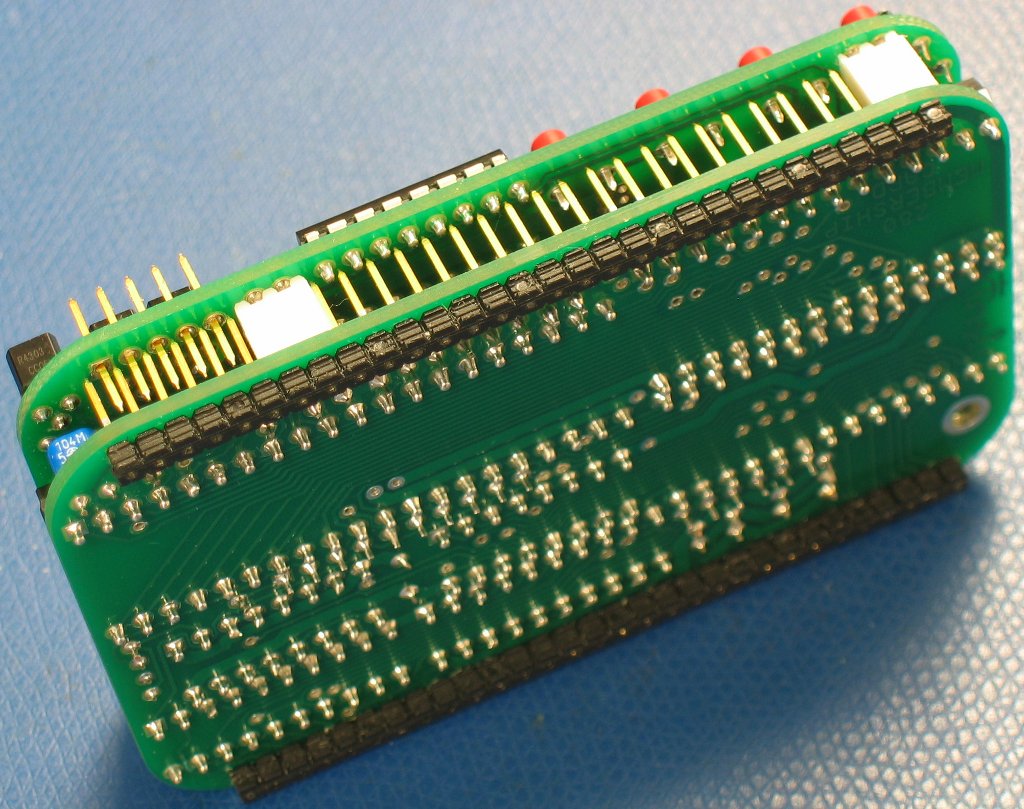
Assembly of the membership card was straight forward, Although I did use a few techniques to get it to fit into the Altoids tin with the lid closed.
To start with, I purchased and used socket pins for all the chips. The socket pins are almost (but not quite) like having the chips soldered directly to the board. They allow for enough space between the boards that it isn’t necessary to trim the leads on the front panel as close as it would be required without them.
I then needed to trim the header on the left side. While the right side has space for holes for the header to extend up into, the left side is too tight. I trimmed off enough that the pins did not make contact with the front panel. In hindsight, I could have left the four pins that pass through the corresponding two plugs long. The body on both headers needed to be shifted to form the two feet along the sides on the bottom. Carefully sinking the pins into the body prevents shorting to the surface upon which it sits.
The header for power and the serial lines also needs to be installed properly. I pushed the leads through the plastic body to ensure the correct distance on top (approximately 7mm) and then soldered them in place.
While it took more than a few hours to assemble, I went slowly and carefully to ensure that it would fit properly in the tin.